
You can use ticket forms to take support queries and collect feedback from your customers. You will be able to find these forms by default on your support portal. You can also add ticket forms as a widget to your website, support portal, or even your web application.
Both agents and customers can use the ticket form to create a ticket. Your customers can access the ticket form from your customer portal (<yourcompanyname>.freshdesk.com/support/home).
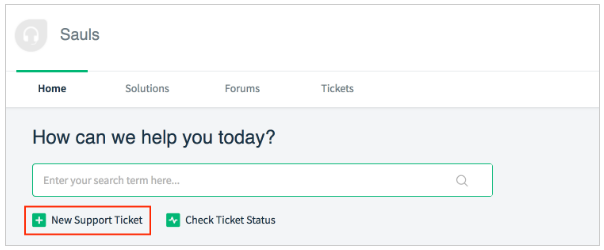
Sometimes, support agents might want to create a ticket for their customers, especially after receiving an inbound call. They can do so using the ticket form by clicking on the New button in the agent portal.

The ticket form helps you collect all the facts you need at the very first step, eliminating the need for you to go back and forth to the customer with more questions. With this in mind, you can customize your ticket form to fit your business type or your internal support process.
For example, you might need the customer's order ID to speed things up a bit, or need select fields to categorize the ticket better. You can include the right ticket fields in your form, and let your customers and agents fill in the information you need in the format you want.
What are the default fields in Freshdesk?
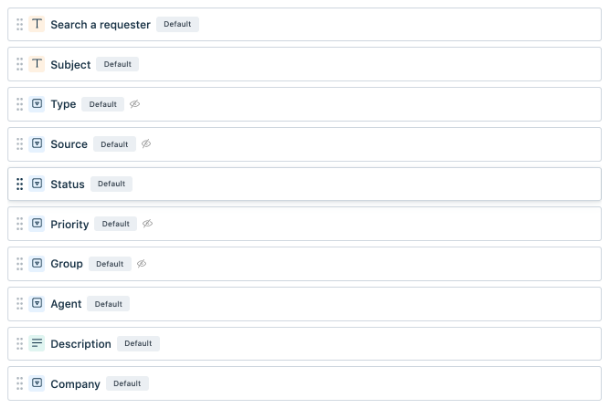
Every Freshdesk account comes with a set of default fields that are important to the functioning of your helpdesk. These fields are a part of every ticket in your helpdesk and will be used by your agents extensively as they try to resolve issues. For this purpose, default fields will have the 'Default' label, and you cannot remove from your ticket form. However, you can control the way they are visible to your customers in your support portal, and in your feedback widget (you can learn more about field properties below).
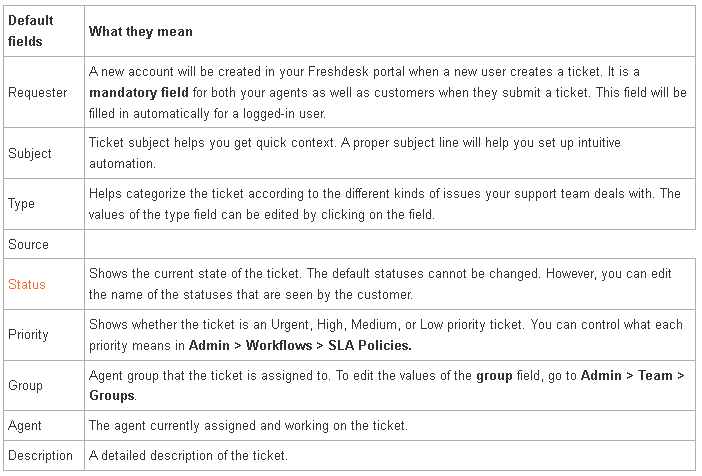
The most important item from this list is the Status field, which is used to manage the lifecycle of the ticket in your helpdesk. It can be further customized to include custom ticket statuses based on your workflow and take advantage of SLA timers. You can read more about it in detail here.
A quick guide to customizing the default fields in your ticket form:
-
Log into your Freshdesk account as an administrator.
-
Go to the Admin > Workflows > Ticket Fields.
-
You can see all the default fields like Requester name, subject, and description of the ticket, etc.
-
Click on any existing field to open the field properties editor.
-
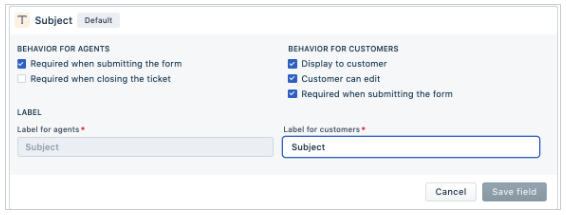
You can customize the name of the default field for your customers. For example, you'll be able to display a ticket field to your agents as 'Requester email' and your customers as 'Your email address.'
-
You can choose to make the field compulsory when agents create or resolve a ticket.
-
You can choose whether the customers can see this field when they create a new ticket from your portal. You can make these fields editable for customers after creating a ticket, or to be a mandatory field when they submit the ticket.
-
You can also add your custom fields.
-
Drag and move fields within the form to organize them in the right order.
-
Click Done and then Save to save this new form.
When you have customized your ticket form, try clicking on the New button to check how your ticket form has come up. Remember that customers will see your ticket form when they submit a ticket through the portal as well as from the help widget on your website.
Deleting or archiving a default ticket field
-
You cannot archive/delete a default field. However, you can hide the field for your customer by unchecking the Displayed to customer option.
-
To archive/delete a custom field you created, in Admin > Workflows > Ticket fields, hover over the ticket field you want to archive/delete and click on the archive/trash icon.
